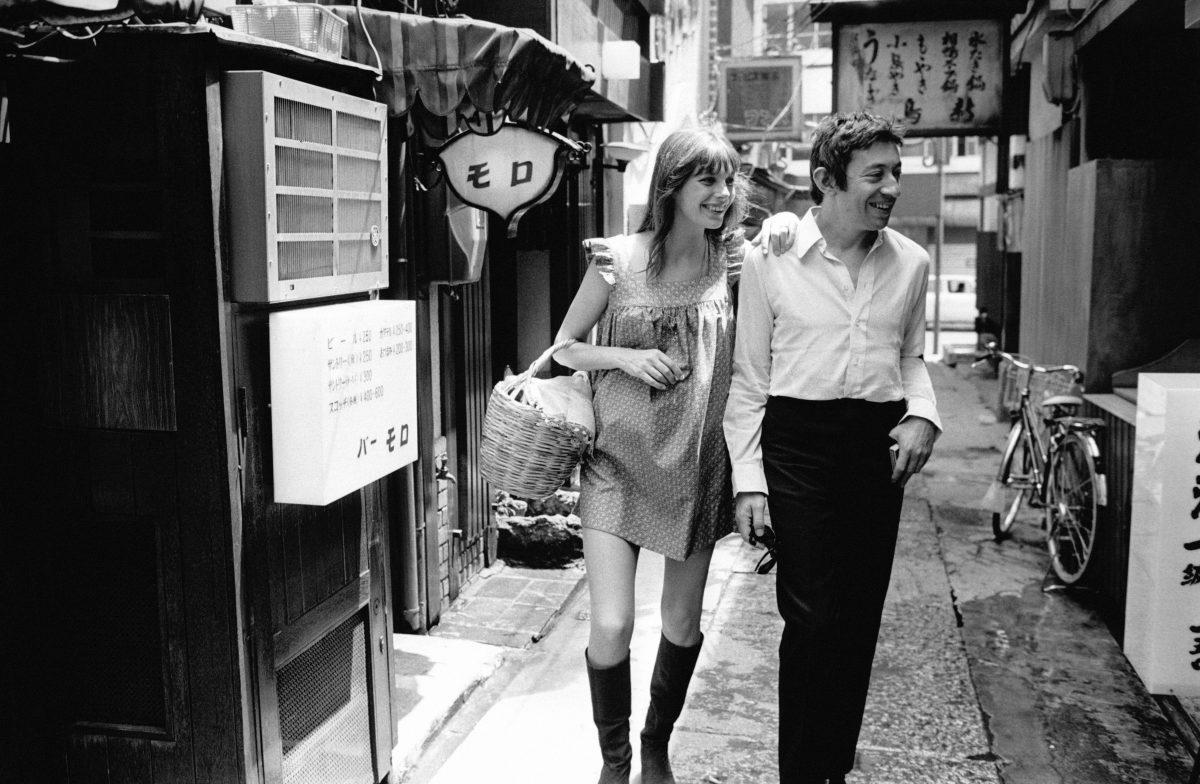
Galleria foto Articolo – foto 1 (Photo by Bertrand LAFORET/Gamma-Rapho via Getty Images) Leggi l’articolo